Tools Used
- OPNsense Firewall (latest stable release: 25.7)
- Web GUI (HTTPS access)
- LAN/WAN interfaces
- 2FA for admin access, TOTP plus password(optional)
Steps Taken
- Installed OPNsense on dedicated hardware using a ventoy usb with an OPNsense ISO.
- Verified WAN connectivity (public IP assigned, outbound reachability).
- Verified LAN connectivity (clients able to reach firewall GUI).
- Confirmed anti-lockout rule exists by default (ensures GUI access from LAN).
- Restricted GUI access to LAN only (disabled WAN GUI exposure).
- Enabled 2FA for admin login to strengthen access control.
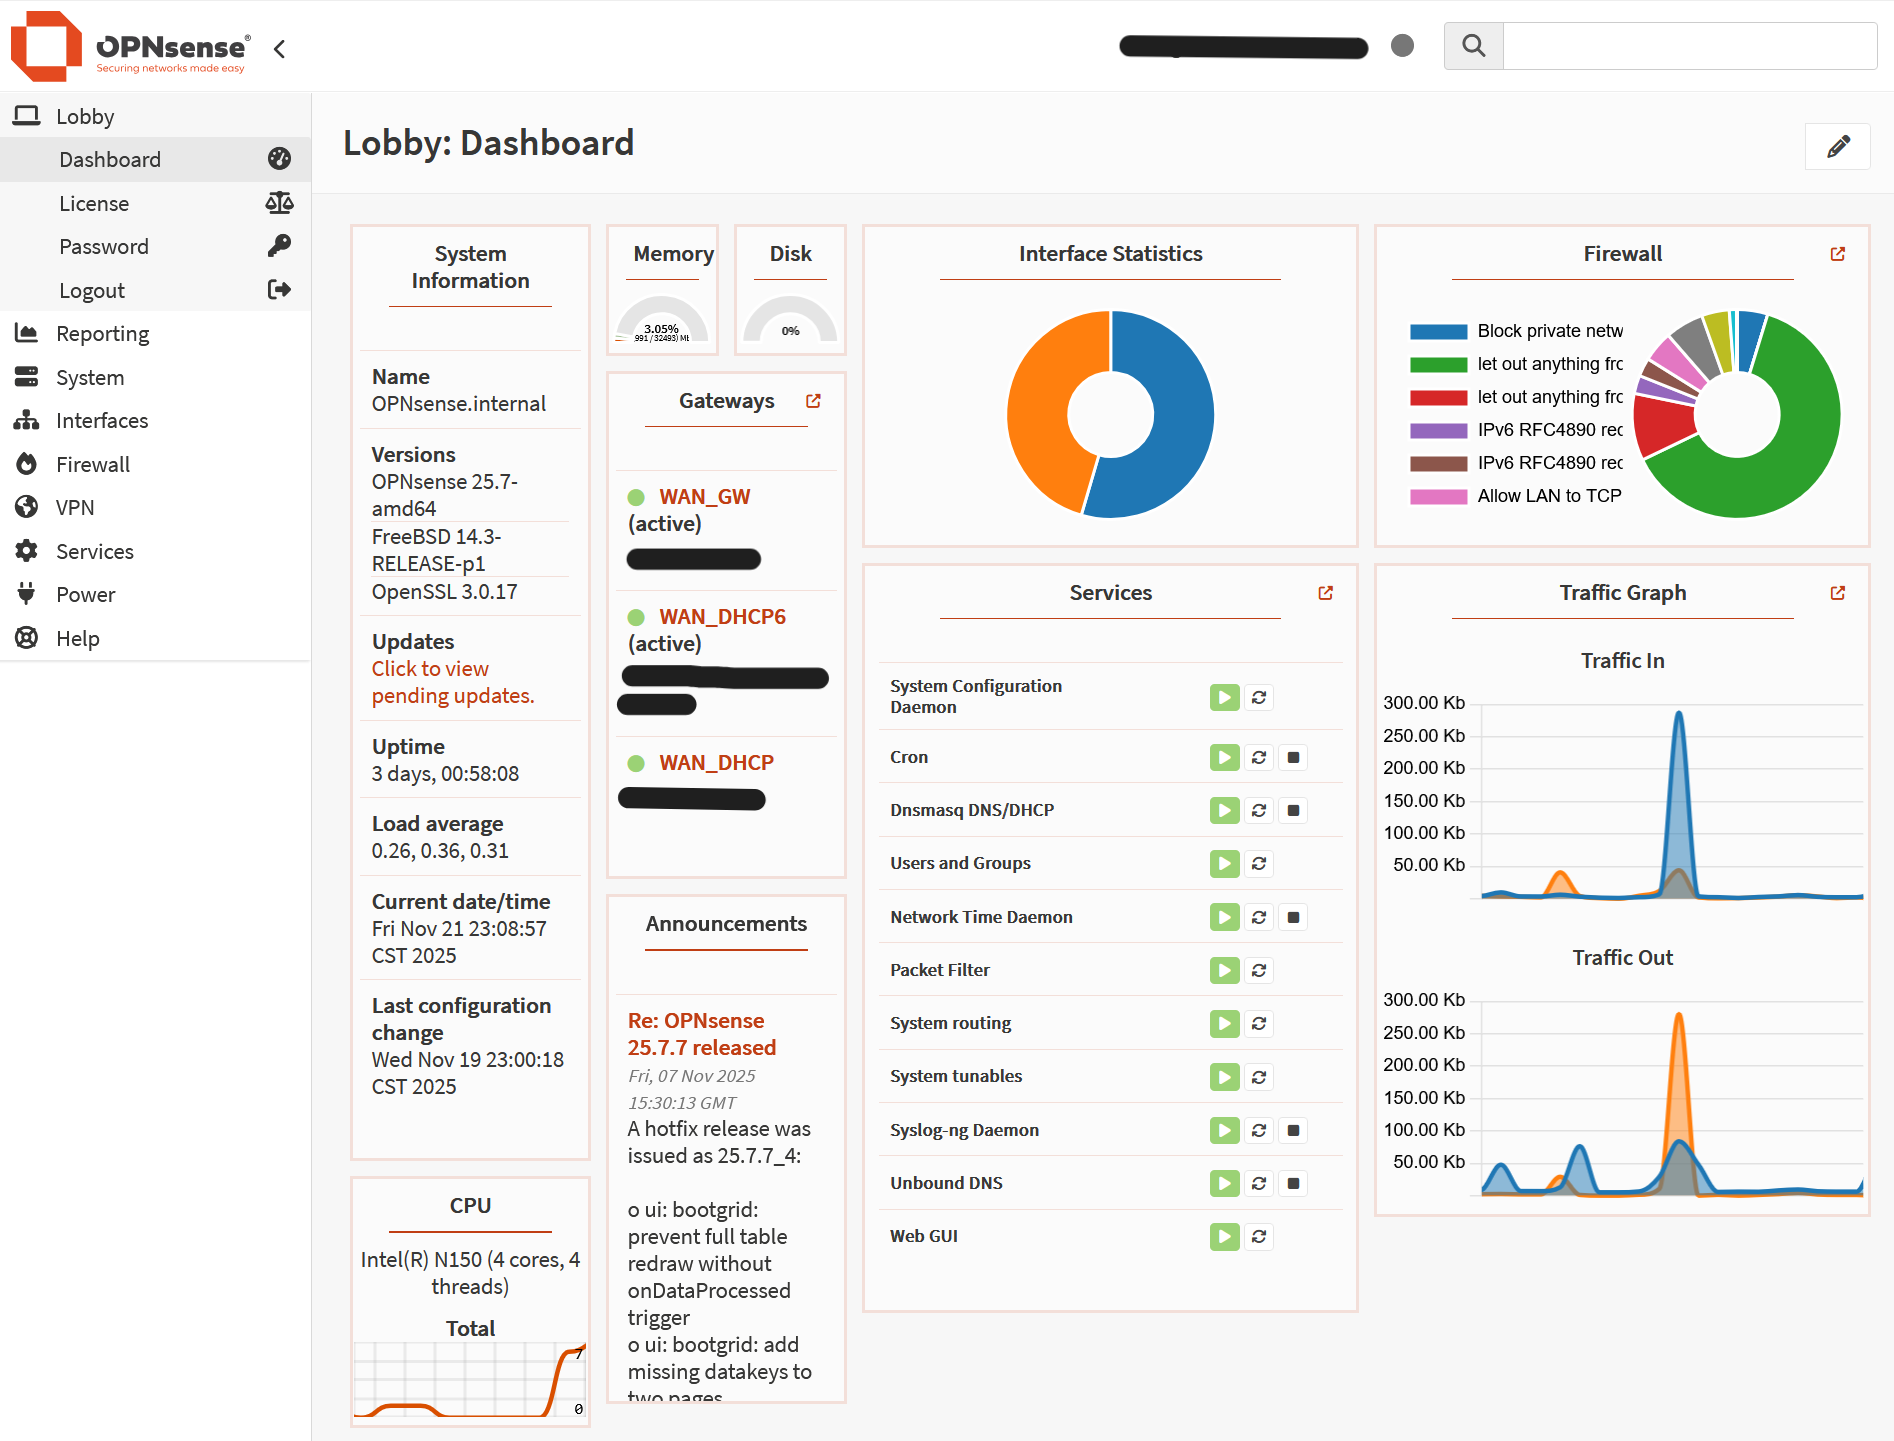
Screenshot: OPNsense Dashboard
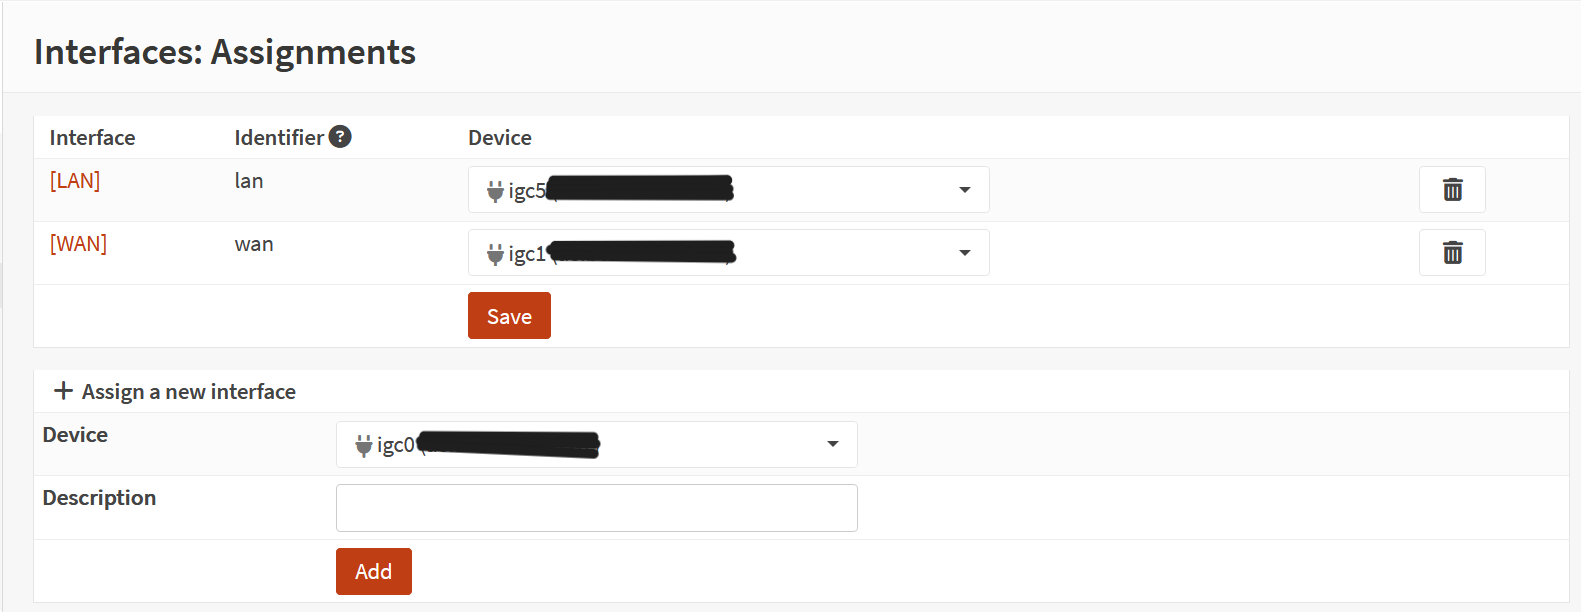
Screenshot: Interface Assignment
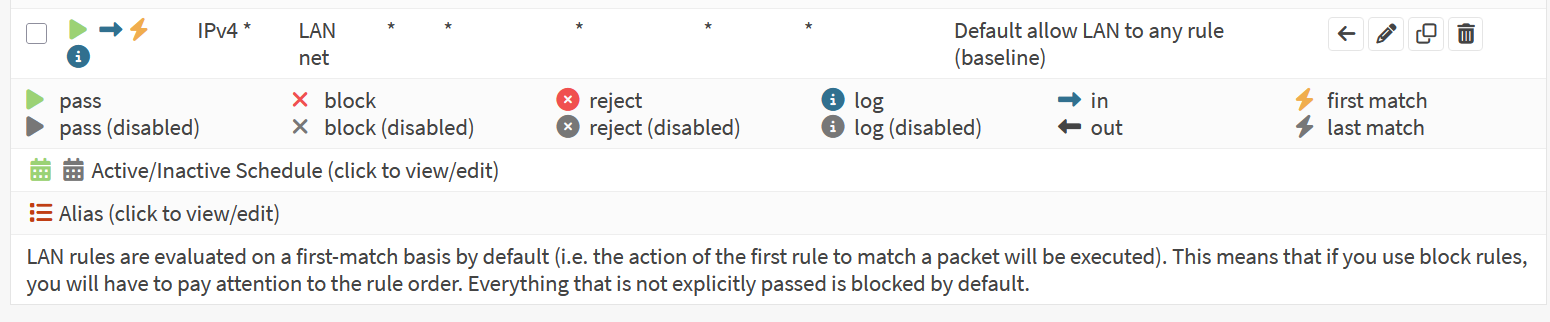
Screenshot: Anti-Lockout Rule
Screenshot: GUI Access Restriction

Screenshot: 2FA Configuration

Outcome
Firewall successfully deployed with secure administrative access. WAN/LAN connectivity validated, anti-lockout safeguards confirmed, and GUI restricted to LAN with optional 2FA. This establishes a hardened baseline for further configuration.