Tools Used
- OPNsense Firewall
- Web GUI access
- Configured VLAN interfaces from Lab 2
- Client devices for lease validation
- Browser + screenshot tool
Steps Taken
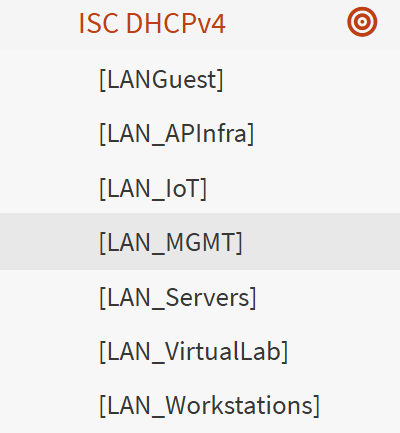
- Enabled DHCP service under Services → DHCPv4 for each VLAN interface.
- Defined lease ranges (e.g.,
192.168.10.50 – 192.168.10.200for VLAN 10). - Set the correct gateway (interface IP, e.g.,
192.168.10.1). - Configured DNS servers (OPNsense resolver or external like
8.8.8.8). - Added optional static mappings for servers and management devices.
- Applied changes and restarted DHCP service.
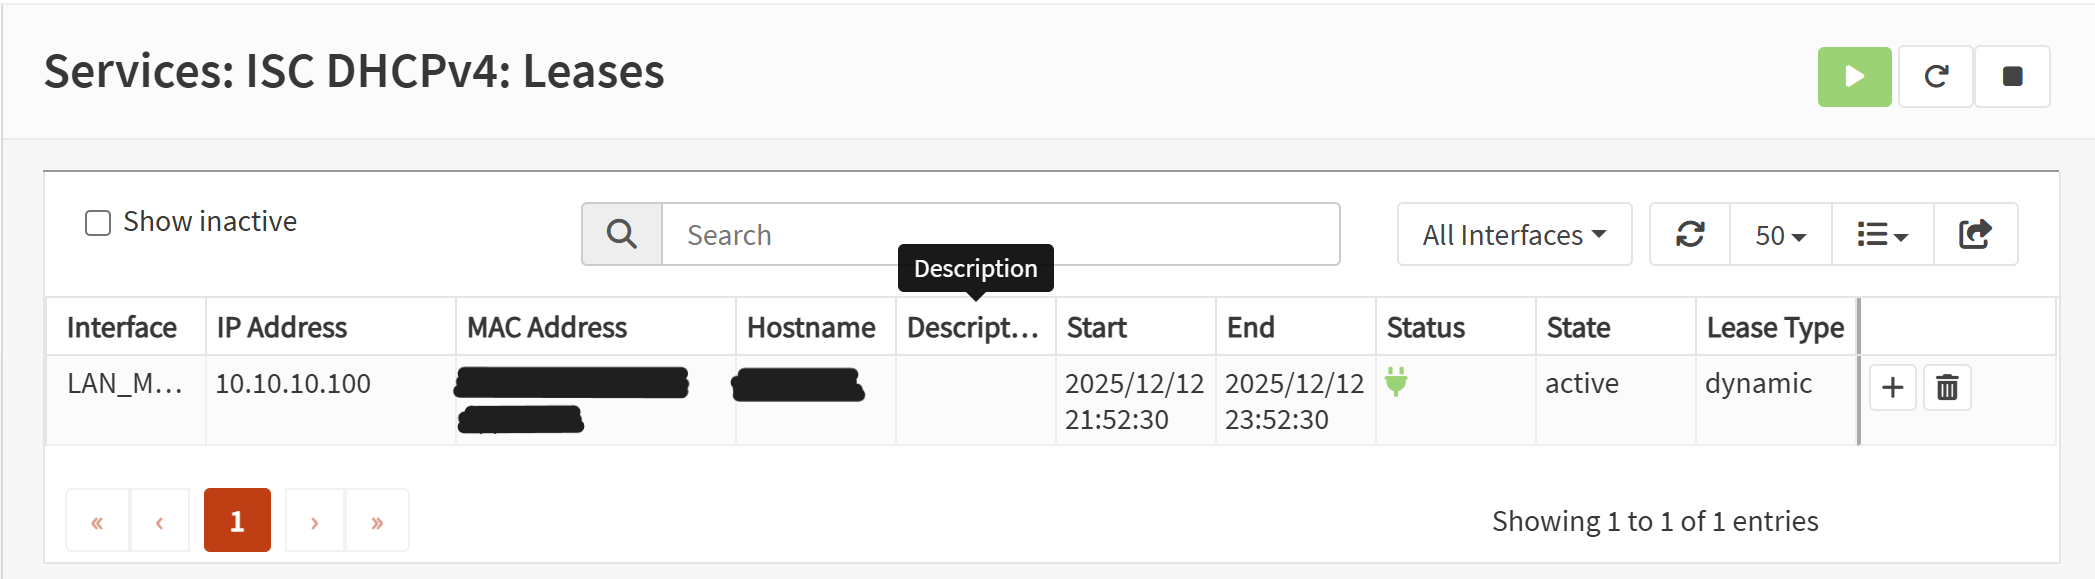
- Validated by connecting a client to each VLAN and confirming lease acquisition.
Screenshot: DHCP Scope (VLAN 10)

Screenshot: DHCP Overview
Screenshot: Lease Table
Outcome
Each VLAN now has an active DHCP scope with correct gateway, DNS, and lease ranges. Clients successfully pull leases and appear in the DHCP lease table with proper addressing. This confirms that all VLANs are usable and ready for further network services.